
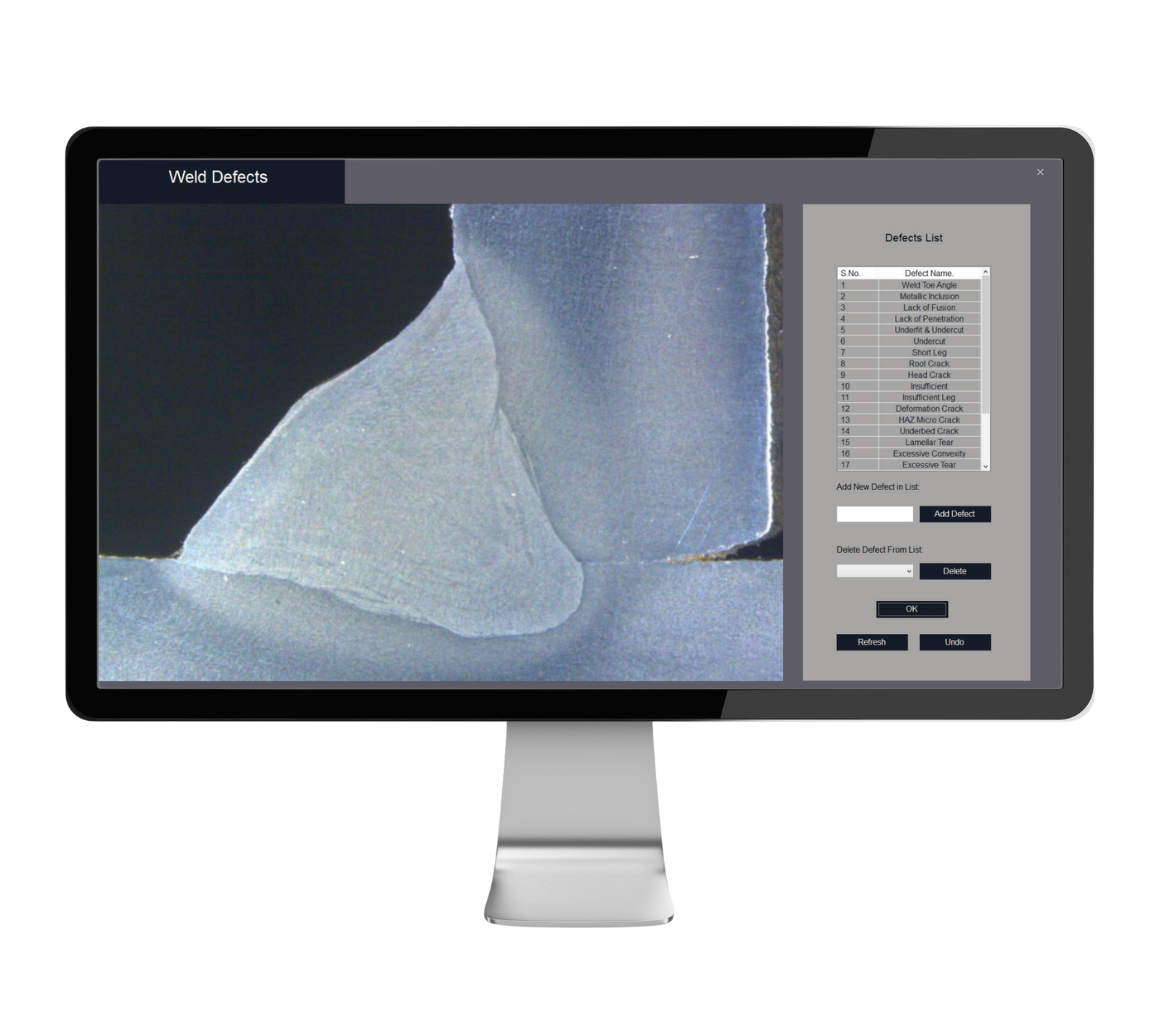
Advanced Image Analysis for Welding Inspections: Designed for inspectors, metallurgists, and material scientists.
Supports Multiple Image Formats: Compatible with BMP, JPEG, TIFF, PNG, GIF, and PSD.
Real-Time Live Image Capture: Capture and analyze live images on the same platform.
Comprehensive Annotation Tools: Includes lines, shapes, text, arrows, grids, and more for easy documentation.
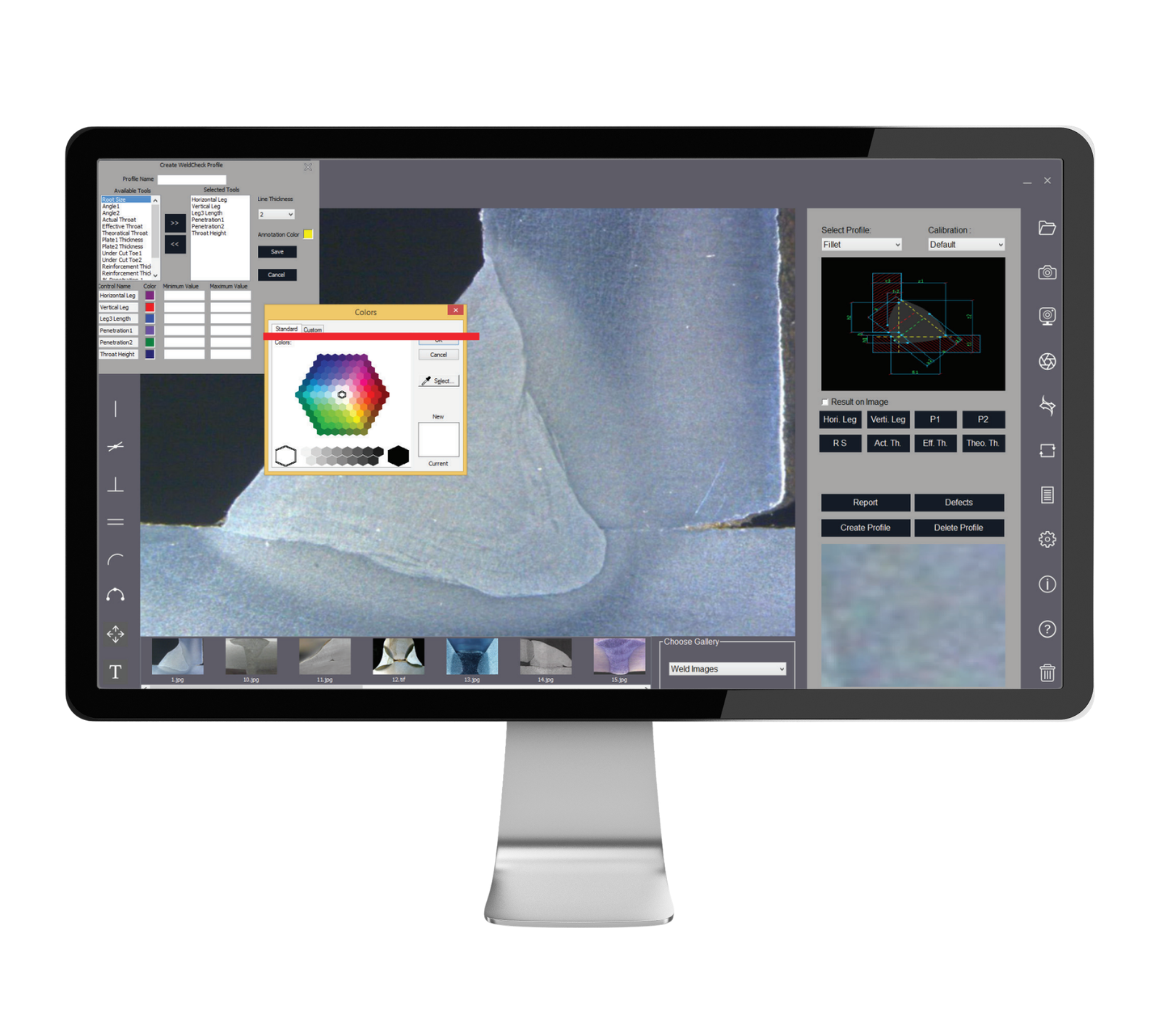
Customizable Measurement Settings: Set parameters for depth, penetration, leg length, throat length, and more.
Automatic Edge Detection: Detect and measure weld parameters with precision.
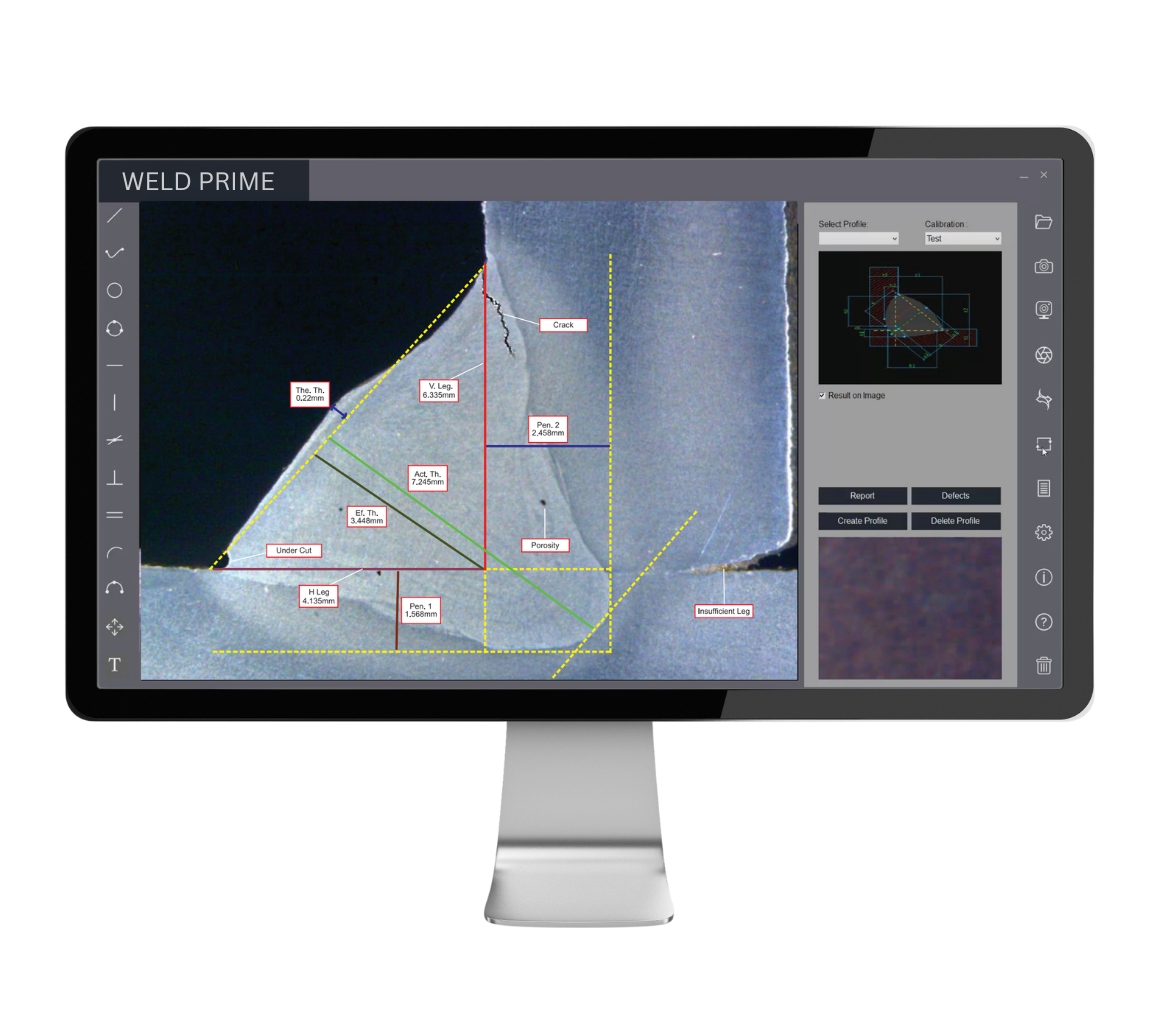
Weld Defect Detection: Identify defects like cracking and porosity in welds to ensure quality.
Weld Prime is a state-of-the-art image analysis software developed for welding inspectors, metallurgists, quality control engineers, and material scientists who need accurate, reliable, and user-friendly tools for weld measurement and defect detection. From live image capture to automated measurement and detailed reporting, Weld Prime brings efficiency and precision to every stage of your weld inspection process. Whether you work in heavy fabrication, manufacturing, or research, Weld Prime helps you maintain the highest welding quality standards with ease.
Key Highligths:
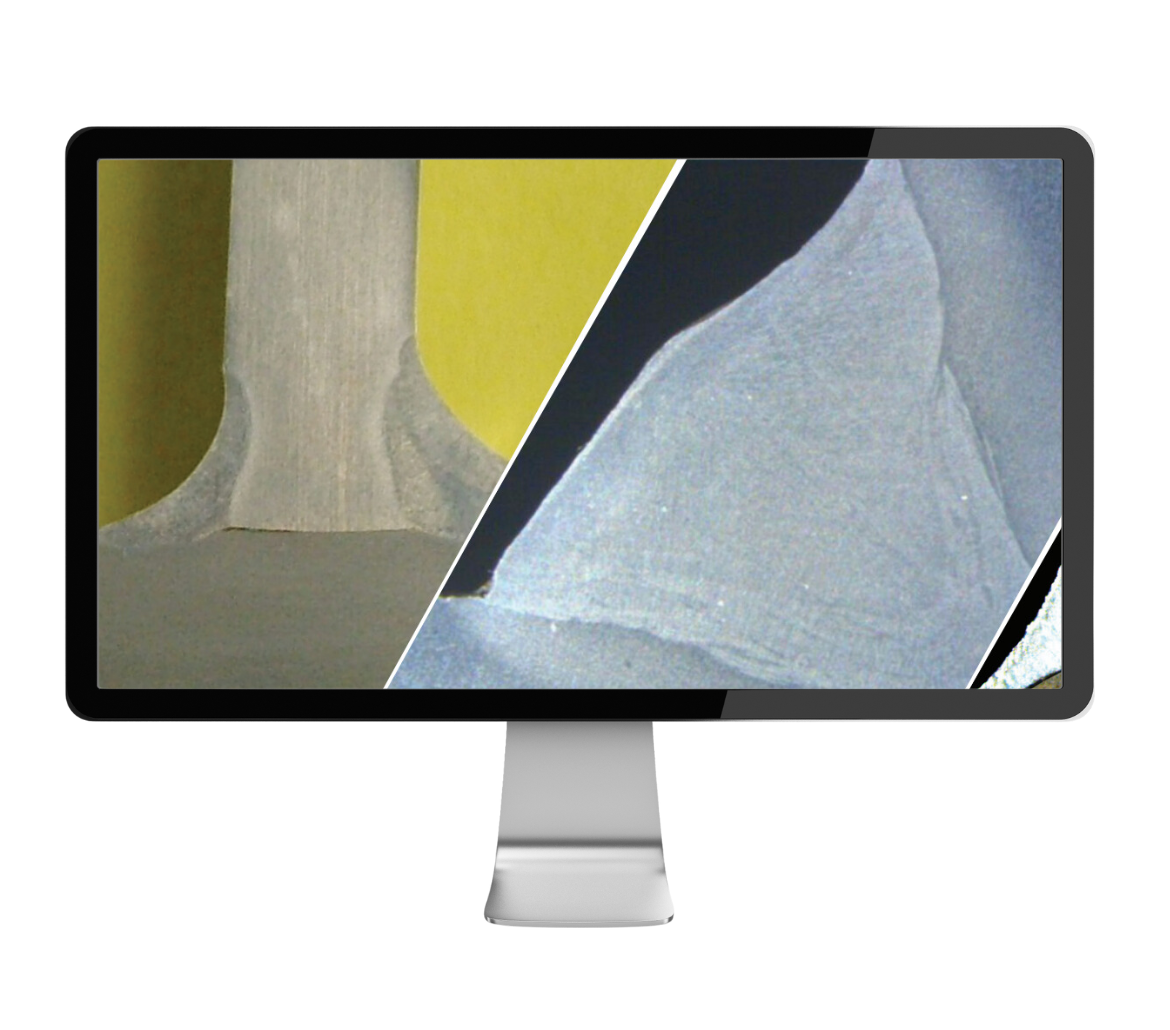
Versatile Image Handling: Supports both grey monochrome (8-bit) and full color (24-bit) images. Open, view, and analyze multiple images of any resolution at once, making comparison and documentation effortless.
Wide Format Support: Compatible with standard image formats including BMP, JPEG, TIFF, PNG, GIF, and PSD — no conversion hassles.
Live Image Capture & Adjustment: Connect your digital camera and capture live images with complete control over display size, white balance, brightness, contrast, hue, and saturation. Save images instantly to organized folders for analysis.
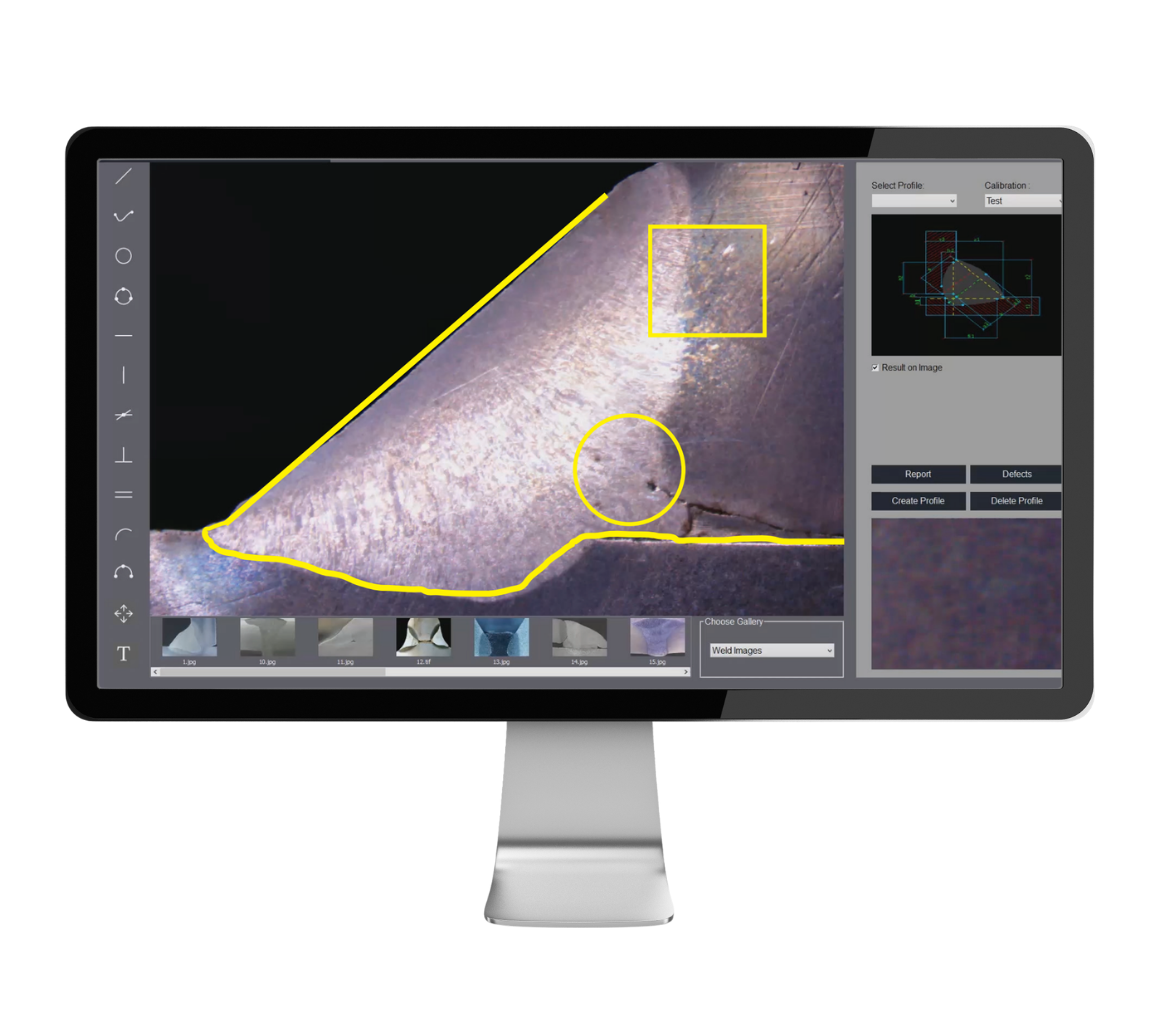
Precision Annotation: Mark your images with a comprehensive range of tools — lines, angles, circles, squares, grids, cross lines, scale bars, arrows, and custom text. Highlight areas of interest, add notes, and define dimensions with adjustable colors and line thickness.
Accurate Calibration: Ensure measurement consistency by calibrating each microscope objective and camera setup. Easy recalibration whenever hardware is adjusted or replaced guarantees ongoing accuracy.
Automated Measurements: Save time and reduce errors with programmable measurement tools that automatically detect edges and capture key weld quality parameters.
Reliable Defect Detection: Identify critical weld defects such as cracking and porosity to ensure weld strength, durability, and safety compliance.
Seamless Reporting: Instantly generate professional graphs, charts, and reports. Export data to MS Word, Excel, or any Windows-based software for presentations, client reports, or quality documentation.
| Modules Included | |
| Camera capture | Capture live images with adjustable display size, brightness, contrast, hue, saturation, and white balance. Images are saved in dedicated folders. |
| Calibration | Calibration is performed per microscope objective. Must be redone after any hardware adjustments or replacements. |
| Annotation | Annotate images using tools like lines, shapes, arrows, grids, crosshairs, text labels, and highlighters. Customizable colors and line thickness. |
| Fillet measurement | Supports automated and manual measurements of weld profiles including depth, leg lengths, throat size, angles, radius, and more. |
| Defect detection | Detects and documents weld defects like porosity and cracking. Enables correlation with process parameters for LSM and post-weld evaluations. |
| Reporting | Detailed weld penetration reports can be generated for each sample, including measurement overlays and defect documentation. |